
Microgreens Guide
How to Grow Microgreens from Seed
Grow microgreens at home in 1–3 weeks: trays, growing media, seeding rates, light, watering and harvest tips for pea shoots, radish, sunflower and more.
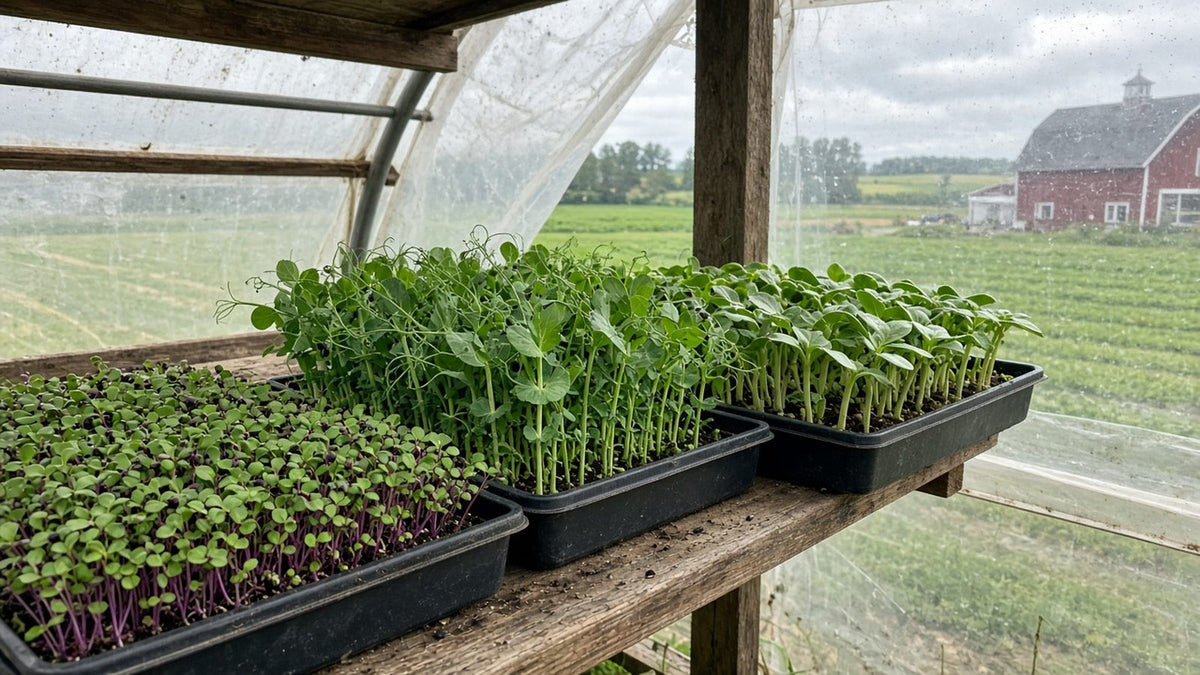
Microgreens are vegetable and herb seedlings harvested young, at the first true leaf stage, usually one to three weeks after sowing. They pack a lot of flavor and color into a small space, and you can grow them year-round on a kitchen counter or under a shelf light.
All you need is seed, a shallow tray, a growing medium, water, warmth and light. Fast growers in the cabbage family can be ready to cut in about two weeks.
Microgreens quick facts
| Harvest stage | First true leaves, typically 1–3 weeks after sowing |
|---|---|
| Container | Shallow food-grade tray or 10×20-inch flat |
| Growing medium | Moist soilless mix 1–1½ in deep, or a growing mat |
| Seeding rate | About 1 tablespoon (10–15 g) per 10×20 flat |
| Temperature | 70–75°F |
| Light | About 16 hours a day; grow lights work best |
| Pre-soak | 6–12 hours for pea, sunflower, beet, chard, cilantro and other large seeds |
| Thinning | None needed |
| Storage | Up to about 10 days refrigerated |
When to grow microgreens
Indoors, microgreens can be grown any time of year. Outdoors in a protected spot, you can grow them roughly from April to October in many climates.
Different crops grow at different speeds, so it is best not to mix species in one tray:
- Fastest: cabbage-family crops like radish, arugula, broccoli, kale and mustard germinate in about 36 hours at 72°F and can be cut around two weeks.
- Medium: beet and chard grow more slowly than the cabbage family.
- Slower: cilantro and basil take longer; peas and sunflowers benefit from pre-soaking.
Where to grow microgreens
Choose a warm spot at about 70–75°F. A sunny window can work, but microgreens generally grow best under fluorescent or LED grow lights set on a timer for roughly 16 hours of light a day. Plastic food containers, standard 10×20-inch greenhouse flats or purpose-made microgreen trays all work, ideally with drainage holes so you can water from below.
How to sow microgreen seeds

Setting up trays
Everything happens indoors. Fill the tray with moist soilless growing mix to a depth of 1–1½ inches, or use a hemp, coconut coir or jute growing mat. Pre-soak large seeds such as pea, sunflower, corn, beet, chard and cilantro for 6–12 hours. Broadcast seed evenly and densely, about 1 tablespoon per 10×20 flat, or roughly 5 seeds per linear inch. Press it into contact with the medium.
Step by step
- Fill a shallow tray with 1–1½ inches of moist soilless mix (or lay in a growing mat).
- Pre-soak large seeds like pea and sunflower for 6–12 hours.
- Scatter seed densely and evenly, about 1 tablespoon per 10×20 flat.
- Cover the tray to hold warmth and humidity, keeping it at 70–75°F until germination.
- Uncover and grow under about 16 hours of light, misting at first and then watering from below.
- Cut just above the medium when the first true leaves appear.
After sowing, cover the tray with a lid or a second tray to hold in warmth and humidity. Some growers stack a weighted tray on top during the first few days so seeds stay in contact with the medium. Keeping light off for a few days after germination (a 'blackout period') makes stems stretch, which makes cutting easier.
Caring for microgreens

Watering
Tap water is fine. Mist the surface for the first few days, then water from the bottom by setting the tray in a pan of water, or water gently from the top. Avoid waterlogging, which encourages mold.
Light and temperature
Aim for about 16 hours of light daily and temperatures around 70–75°F. Too little light gives pale, floppy seedlings.
Spacing
Microgreens are sown densely and harvested before crowding becomes a problem, so no thinning is needed.
Hygiene
Use clean trays and fresh media for each batch, and give the tray some airflow once the cover is off.
Cutting microgreens

Harvest at the true-leaf stage by cutting just above the growing medium with clean scissors. Many cabbage-family crops are ready about 12–14 days after sowing. Rinse, pat dry and use right away, or refrigerate for up to about ten days. As a guide, one tablespoon of arugula seed in a 10×20 tray yields about 8–12 cups of microgreens. Most microgreens are a single harvest; for repeat cuttings, grow baby greens to 4–6 inches tall instead.
Microgreens growing FAQ
How long do microgreens take to grow?
Usually one to three weeks. Cabbage-family crops like radish and arugula are among the fastest, around two weeks.
Do microgreens need grow lights?
A very bright window can work, but most grow best under grow lights for about 16 hours a day.
Should I soak microgreen seeds?
Soak larger seeds such as pea, sunflower, corn, beet, chard and cilantro for 6–12 hours to speed germination.
Can I mix different seeds in one tray?
It is best not to: different species germinate and grow at different speeds, so one tray would be ready at different times.
Do microgreens regrow after cutting?
Most are a single harvest. For regrowth, grow baby greens to 4–6 inches tall and cut above the growing point.
Download the printable one-page microgreens mix guide (PDF)
Shop microgreen seeds
See every guide in the Microgreens Library or the Grower's Library.
Sources: University of Maryland Extension, Growing microgreens and baby greens indoors; Utah State University Extension, Grow your own microgreens. Planting dates vary with your local frost dates; check your county extension office for local timing.